Home / Tips & Hacks / Silicone Moulded Flowers
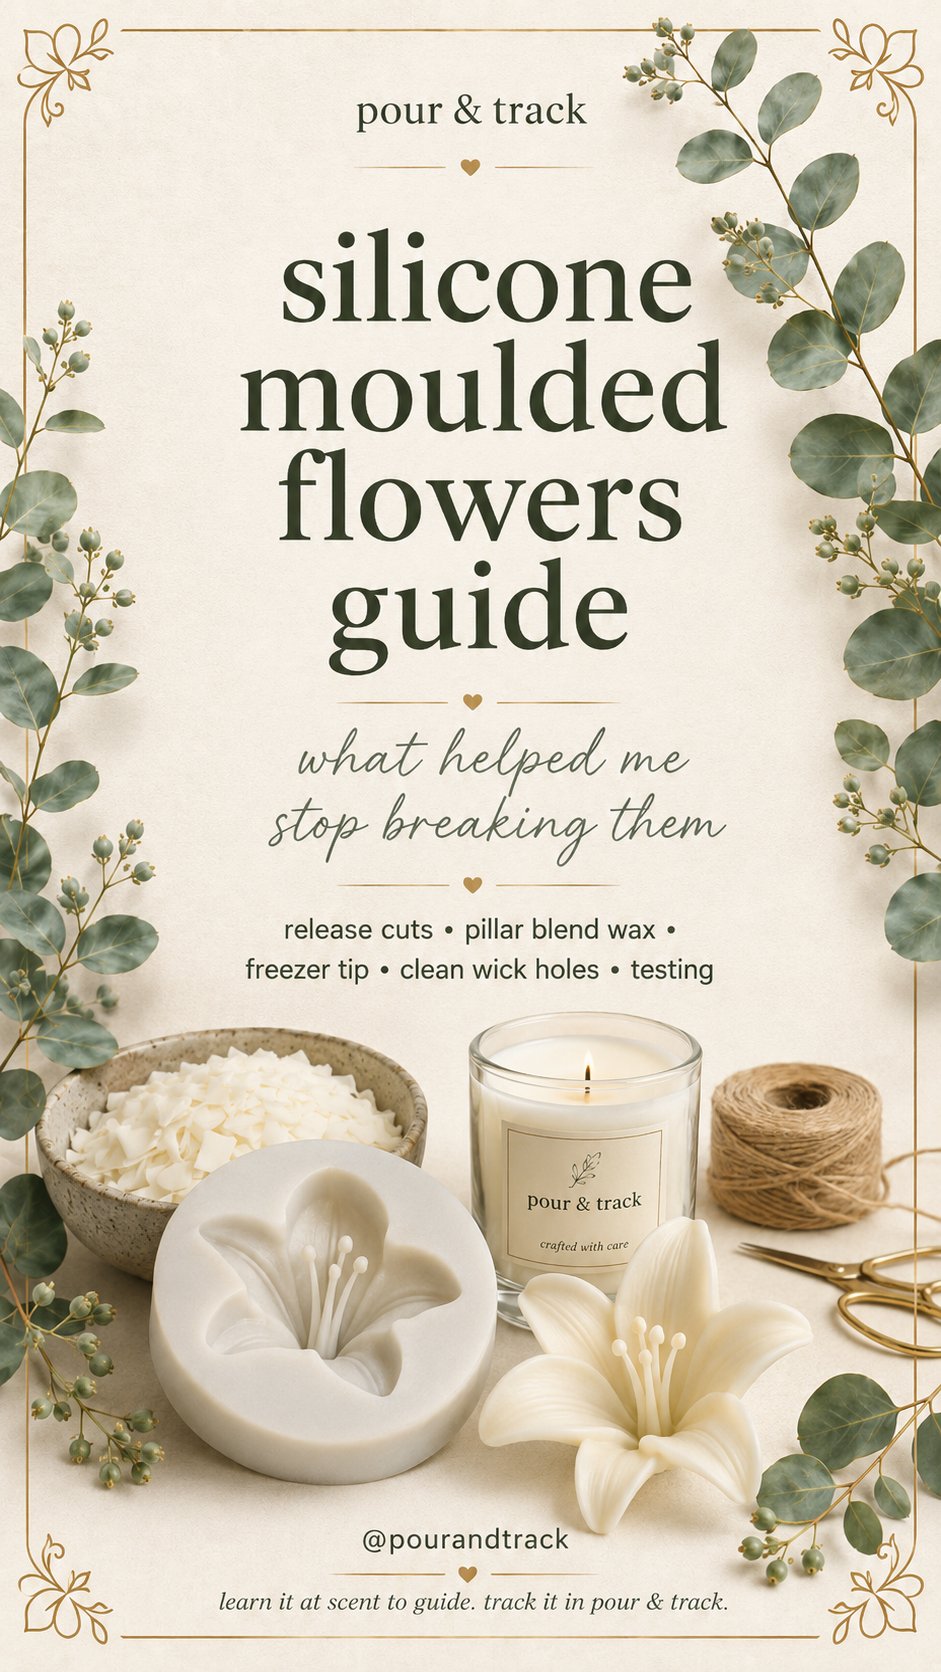
8-page guide · fewer snapped petals
Silicone moulded flowers guide
What helped me stop breaking them.
Moulded wax flowers look beautiful right up until a petal snaps on the way out of the mould. Most of the breakages come down to four things: the wax you started with, how the mould opens, how cold the wax is, and how much force you use. Here is what changed it for me — release cuts, a pillar blend, ten minutes in the freezer, and a heated tool for the wick hole.
1. Start with the right wax
A pillar blend made a big difference to how the flowers held their shape.
- ✓ Firmer petals and cleaner details
- ✓ Less frosting than soft soy or coconut waxes
- ✓ A smoother finish, especially when adding dye
- ✓ Always test your own wax and mould combination
A harder mould or pillar wax can make demoulding much easier.
2. Add release cuts to the mould
So the silicone can peel away instead of the flower being forced through a tiny gap.
- ✓ Slice from the middle opening outward toward the edges
- ✓ This creates flaps so the mould can open up
- ✓ Peel the silicone away rather than pushing the flower out
Use a sharp craft knife and cut carefully — a few small cuts are enough.
3. After setting, chill the mould
My 10-minute freezer trick.
- ✓ Once fully set, place the mould in the freezer for about 10 minutes
- ✓ This firms the wax and reduces breakages
- ✓ Test the timing with your own wax if needed
The goal is firm wax, not brittle wax.
4. Demould slowly — peel, don't pull
This is the step where most petals get lost.
- ✓ Loosen the outer edges first
- ✓ Peel the silicone back section by section
- ✓ Support the flower as it releases
- ✓ Don't yank the petals or push through the centre
Slow demoulding usually means fewer snapped petals.
5. Make the wick hole with a heated tool
Let the heat do the work instead of the pressure.
- ✓ Heat the piercing tool briefly
- ✓ Wipe the tip with kitchen towel to remove soot
- ✓ Gently melt a path through the wax
- ✓ Reheat and repeat if needed
Don't force it — this is when the wax splits. Work carefully and keep the hot tool away from flammable materials.
6. Save what worked
Record the little details so the next batch isn't guesswork.
- ✓ Mould and supplier
- ✓ Wax, dye and fragrance used
- ✓ Release cuts and freezer time
- ✓ What helped demoulding
7. Testing is always essential
The flower is part of the candle formula, not a decoration on top of it.
- ✓ Test the finished candle with the flower attached
- ✓ Check the flame, melt pool and how the flower melts
- ✓ Retest if you change the wax, wick, size or placement
Log the mould, supplier, wax, dye and fragrance against the batch, then add a note for the release cuts and freezer time. Next time you make the same flower, the settings that worked are already written down — and the finished candle can be burn-tested on a test sheet with the flower attached.
Peel, don't pull — and write down what worked.
DownloadFree · 8-page guide · PDF
Save this before your next flower pour and work through it step by step.